
Create the main file
In this section, we will create the main file for your bot. This file will be the entry point for your bot, and it will contain the code that will start the bot and handle incoming messages. We suggest that you save the file as main.js, but you may name it whatever you wish.
Here's the base code to get you started:
const { Client } = require('whatsapp-web.js');

// Create a new client instance
const client = new Client();

// When the client is ready, run this code (only once)
client.once('ready', () => {
    console.log('Client is ready!');
});

// When the client received QR-Code
client.on('qr', (qr) => {
    console.log('QR RECEIVED', qr);
});

// Start your client
client.initialize();
QR-Code generation
Since whatsapp-web.js works by running WhatsApp Web in the background and automating its interaction, you'll need to authorize the client by scanning a QR code from WhatsApp on your phone. Right now, we're just logging the text representation of that QR code to the console. Let's install and use qrcode-terminal so we can render the QR code and scan it with our phone to authorize the client.
npm install qrcode-terminal
yarn add qrcode-terminal
pnpm add qrcode-terminal
And now we'll modify our code to use this new module:
const { Client } = require('whatsapp-web.js');
const qrcode = require('qrcode-terminal');

const client = new Client();

client.on('ready', () => {
    console.log('Client is ready!');
});

client.on('qr', qr => {
    qrcode.generate(qr, {small: true});
});

client.initialize();
Our modification now results in the QR code being displayed in the terminal upon startup. From that moment onward, the QR code will be regenerated every 30 seconds until it's scanned with your mobile device. To authorize the client, open WhatsApp on your phone, go to the settings, and scan the QR code. After the scan, the client should be authorized, and you'll see a Client is ready! message printed out in the terminal.
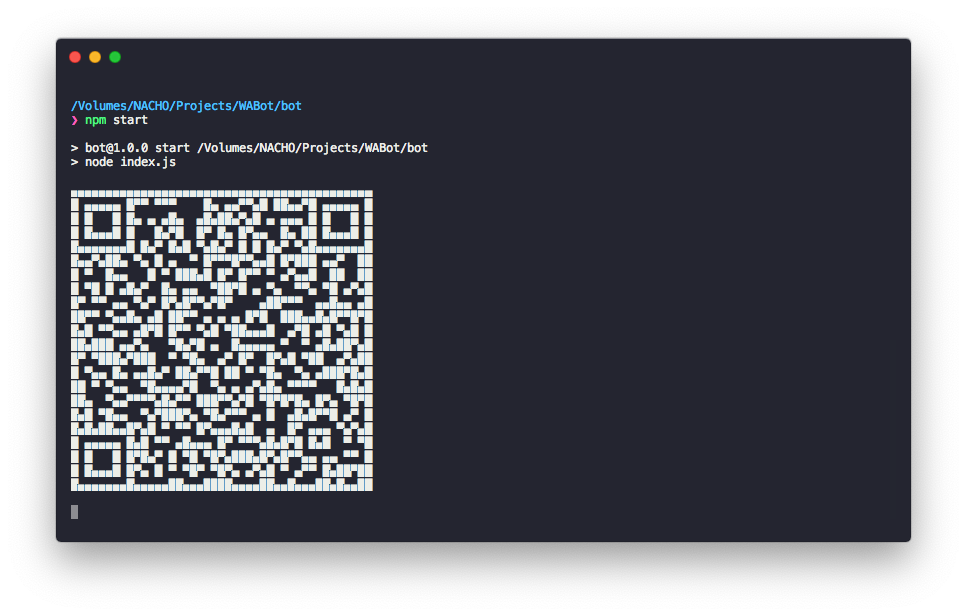
Run your bot
To run your bot, open your terminal and, simply execute node main.js in your terminal. If you've followed all the steps correctly, you should now have a connected client to WhatsApp Web.
TIP
For a quicker way to run your bot, open your package.json file and modify the main property to main.js. Additionally, include a start script in the scripts field. This will enable you to run your bot by executing npm start in your terminal.
"main": "main.js",
"scripts": {
  "start": "node ."
},
After closing the process with Ctrl + C, you can press the up arrow on your keyboard to bring up the latest commands you've run. This will allow you to quickly run your bot again by pressing Enter.
Listening for messages
To listen for incoming messages, the client needs to listen for the message event. When a message is received, it emits a Message object in response, which provides information about the message. In this example, we aim to receive the message and log it to the console. Here's how you can do it:
// Listening to all incoming messages
client.on('message_create', message => {
	console.log(message.body);
});
Replying to messages
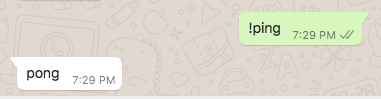
To reply to a message, you can use the sendMessage method. This method accepts a string as a parameter, which will be sent as a message. This capability also allows you to create commands. Here's an example of a simple ping/pong command:
client.on('message_create', message => {
	if (message.body === '!ping') {
		// send back "pong" to the chat the message was sent in
		client.sendMessage(message.from, 'pong');
	}
});
The messages object contains also a reply() method, which allows you to directly reply to a message. This method also require a string as a parameter, which will be sent as a message.
client.on('message_create', message => {
	if (message.body === '!ping') {
		// reply back "pong" directly to the message
		message.reply('pong');
	}
});
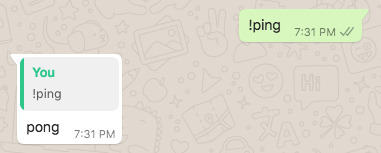
In this case, notice that we didn't have to specify which chat we were sending the message to.